Articulate Rise allows developers to develop courses with custom branding. Navigate course through buttons and publish in Articulate Review for getting feedback from SMEs. Articulate Rise course can be published for LMS (SCORM) with complete/incomplete, passed/failed settings. In this article, we will explore these features one by one.
1. Customize Branding in Articulate Rise
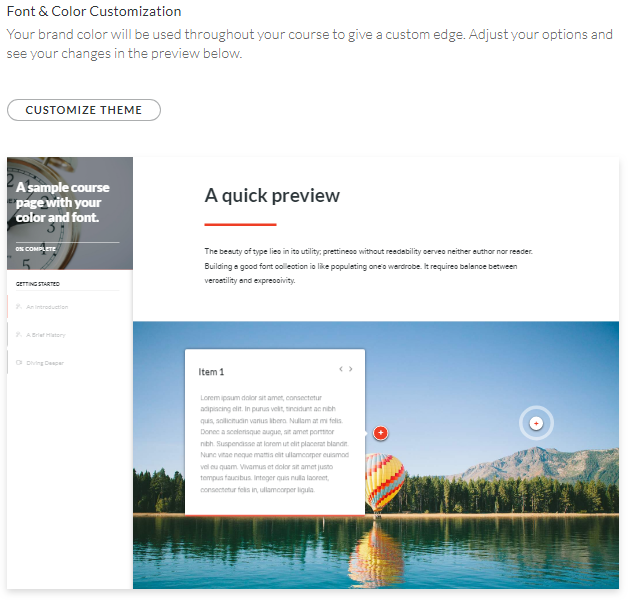
a. Custom Fonts
Brand your Rise courses with custom fonts for headings and body text. Just upload your font files in the theme settings.

b. Course Cover Photos
You can add course cover photo to customize your course. Upload your own or easily search for the perfect image from an extensive library of gorgeous, royalty-free photographs.

c. Logo
Add your company logo to Brand your Rise courses on course cover.

d. Custom Text Labels
Make built-in course elements, such as buttons and lesson headers, say what you want by customizing the default text labels.

e. Block Entrance Animations
Blocks animate smoothly into view as learners scroll through blocks lessons. You can also turn off block animations if you prefer.
f. Change Lesson Icons
Each lesson type has a default icon that appears in your published course. For example, quiz lessons use a question mark icon. Rise lets you change the icon associated with each lesson in your course.
2. Navigation

a. Continue Block
Use continue blocks in your blocks lessons to reveal content progressively and make sure learners complete interactions before moving on.
b. Restrict Navigation
Control how learners navigate your course. Give them the freedom to roam or require them to complete lessons in order.
c. Sidebar Visibility
Choose to have your course sidebar open or closed by default, or even turn it off altogether. Turning off the sidebar also removes the course outline from the cover page and requires learners to navigate lessons in sequential order.
d. Search Course Content
Make it easy for learners to find information in your course by displaying a search field in the sidebar.
e. Branching
Create branched scenarios and decision-making interactions by turning off the built-in previous and next buttons, hiding lesson numbers, and using custom button blocks to control navigation.
f. Exit Course Buttons
Make it easy for learners to exit a Rise course. You can set buttons in blocks lessons to leave the course, or add an ever-present link that lets learners return to an LMS.
g. Disable Forward Seeking
Control how learners interact with videos. Disable forward seeking when you don’t want learners to skip ahead.
3. Publishing

a. Responsive Preview
Preview individual lessons or your entire course before you publish to see how it’ll look to learners on desktop, tablet, and mobile devices.
b. Shareable Links
Let anyone preview your Rise course quickly by giving them a shareable link. You can even assign a password for additional security.
c. Tracking and Reporting
Export your Rise courses as xAPI (Tin Can API), SCORM, or AICC packages that work seamlessly with your LMS.
d. Export Courses for Web Hosting
When you’re ready to distribute your Rise courses to learners, export them as web packages, then upload them to a web server.
e. Export to PDF
Export Rise courses as PDF files for easy printing and meeting regulatory requirements.
Conclusion
Articulate Rise is best when you want to create responsive training quickly and if you have already developed courses on Storyline 360, you can also add those courses in Rise as well. In the next article, we will go through the process of importing Storyline 360 template into rise. So, keep in touch.