Why illustrations are important?
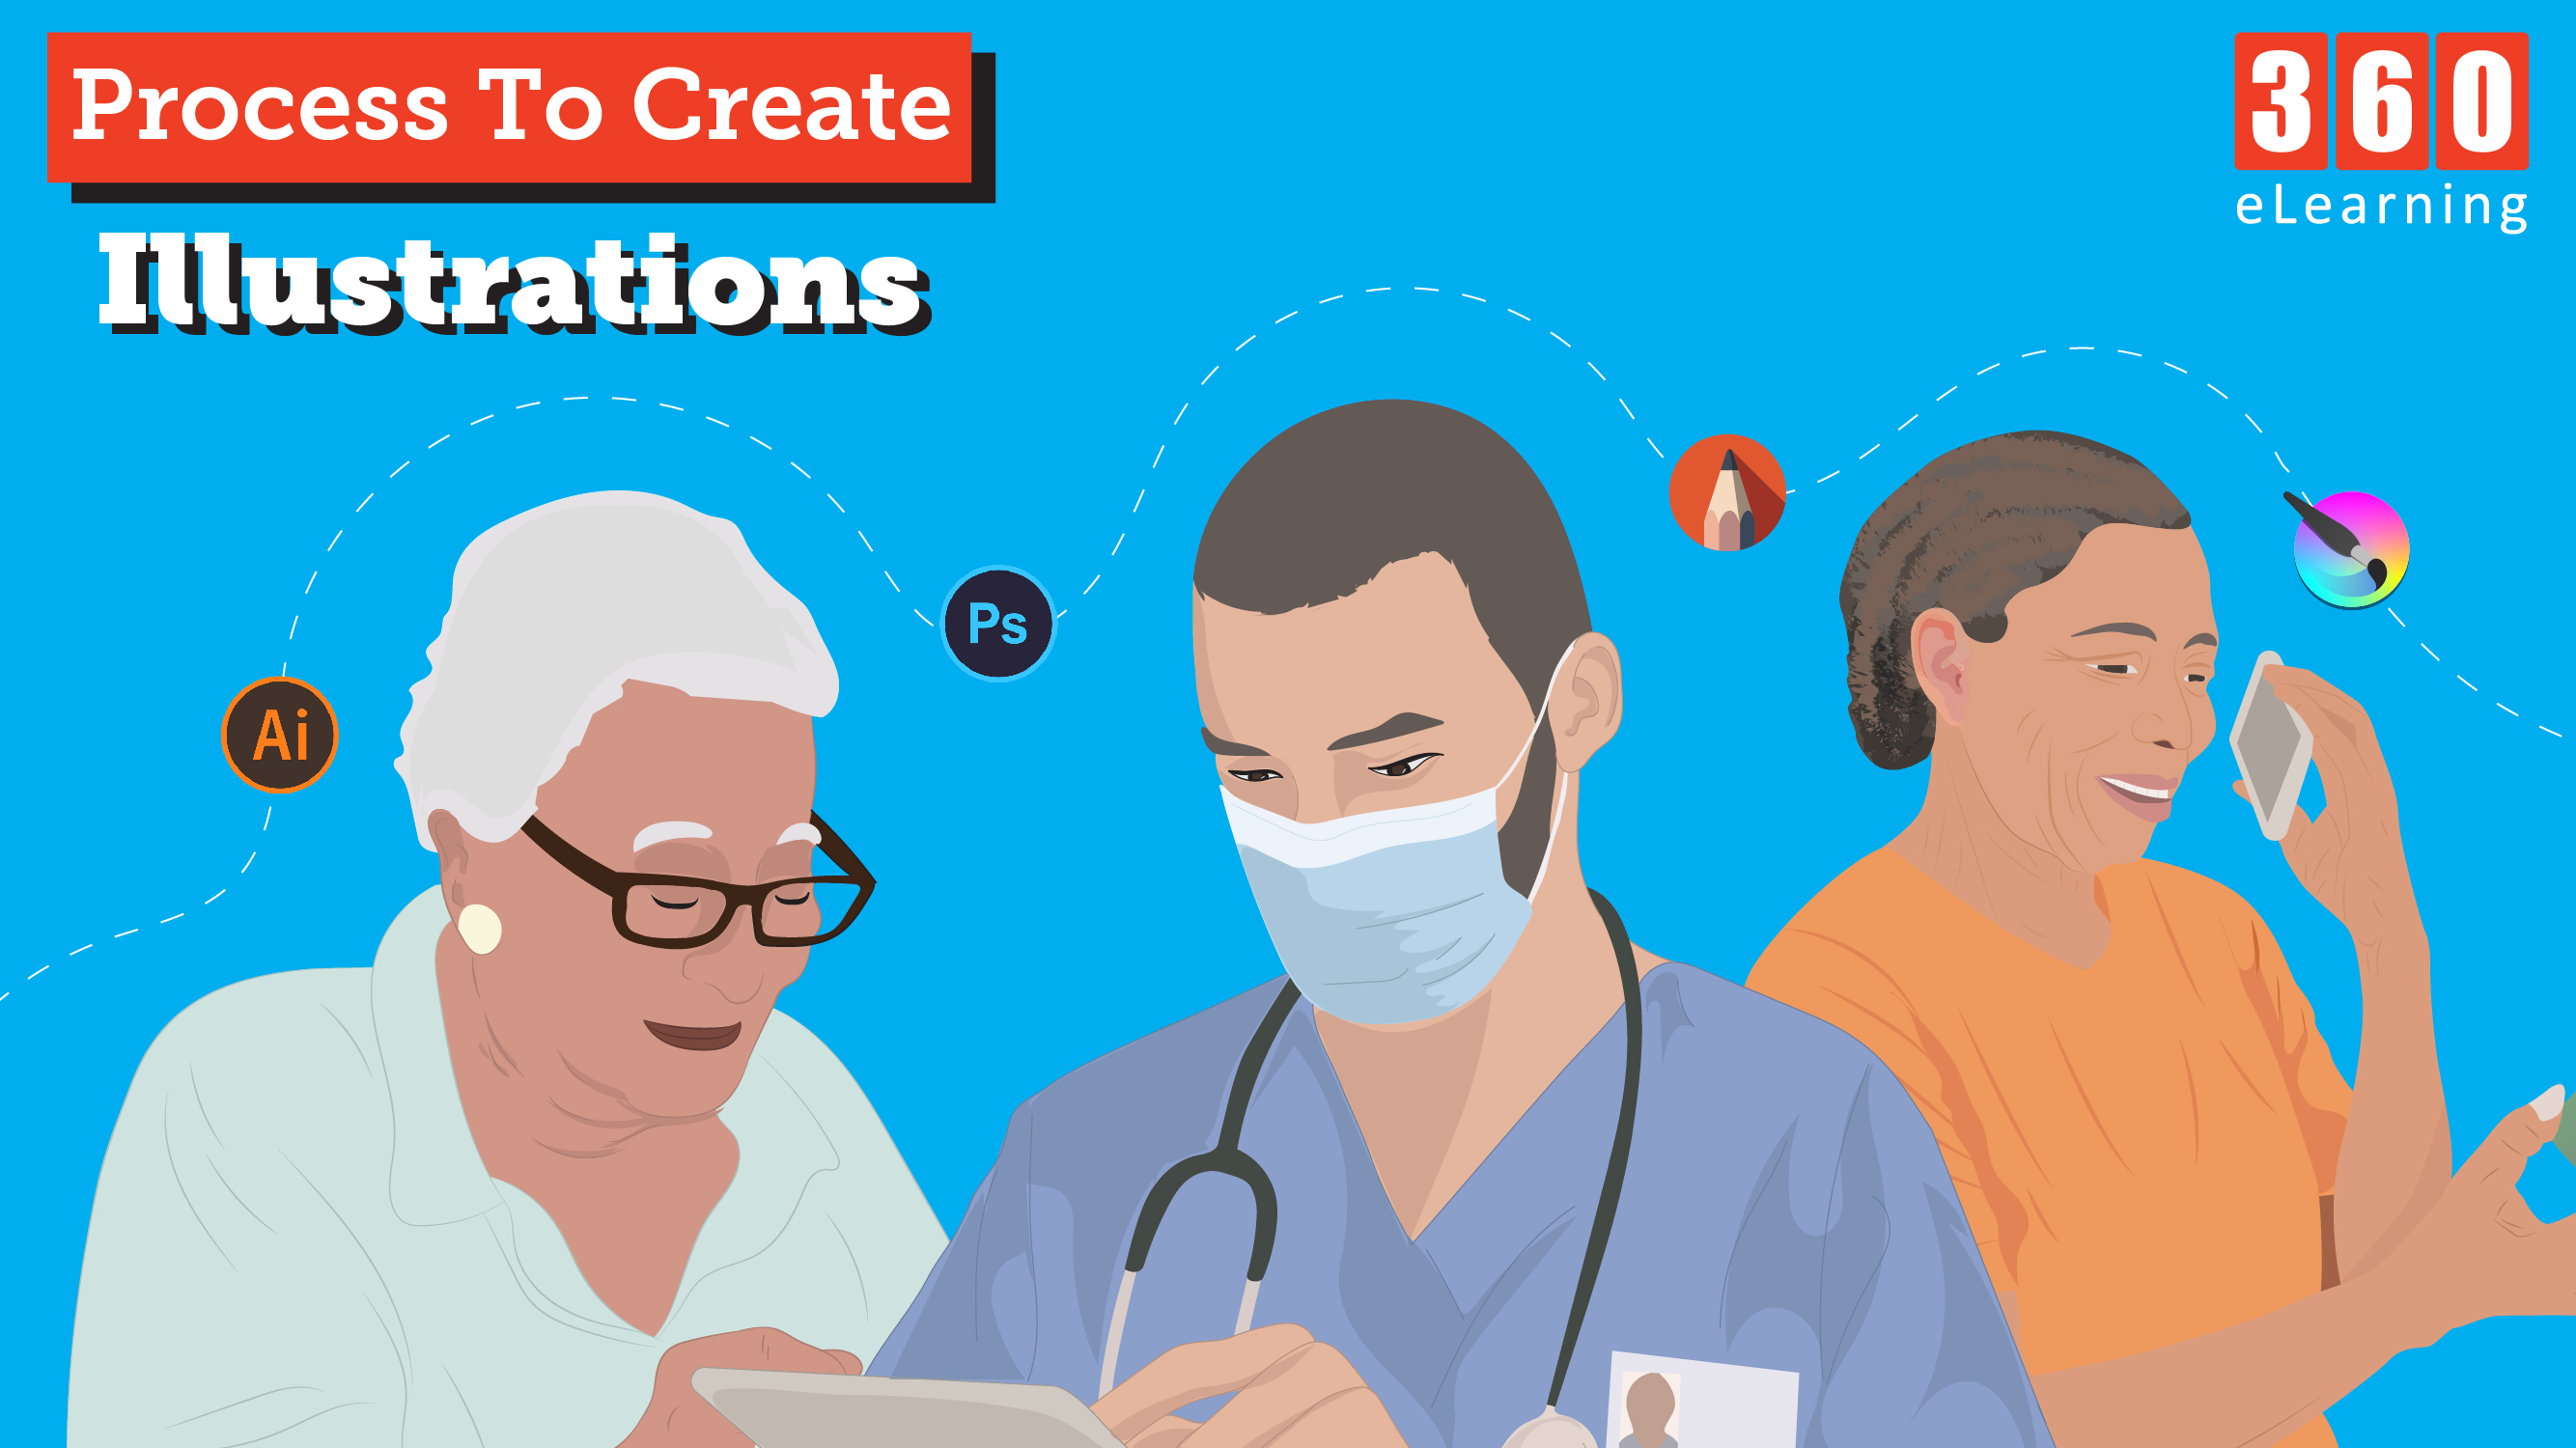
When it comes to eLearning, illustrations play a very important role in creating an attractive and engaging experience for learners. Creating custom illustrations can help brands tell their story to customers in a really fun, unique, and interactive way.
Let’s see how these illustrations are created, there are many software available through which these illustrations can be created like Adobe (Photoshop, Illustrator), Krita, and Sketchbook. Although the process is somewhat similar in all these software, we will see the workflow for creating illustrations in Adobe illustrator.
- Setting up the artboard:
The size of the artboard depends upon the size of the module, the most common size is (1920 x 1080px) wide to be able to work comfortably and precisely.
- Layers and background color:
Working with layers is important so that the illustration process doesn’t get mixed up. Layers can be helpful if the illustration needs any modification upon completion. When creating the artwork, it is recommended to use a white background with black outlines.
- Working with the pen tool:
The pen tool is the most powerful drawing tool and this is all you need to create illustrations. The Pen tool can be used to Draw, Modify and Remove any shape. Illustrations can also be drawn using the Pencil tool, which is more difficult if you are a beginner.
- Coloring your illustrations:
Colors breathe life into your illustrations, and choosing the right colors is important. Use light colors and avoid harsh colors (For example, using the text in harsh colors will make it difficult for a learner to read but when the colors are light learner can easily read). If you need help in selecting the best colors for your project, there are a lot of websites that can help generate color palettes according to the scenario.
- Character Illustrations:
Illustrating characters is usually the most complex illustration due to characters’ facial expressions and postures. It requires a lot of trial and error before actually finalizing the artwork.
- Icon and shapes:
In a lot of cases, when the explanation is required, icons are used to represent the part that can help the learner to better understand what the content is about. Shapes can be used often to create a highly engaging and interactive user experience learning environment.
- Finalizing the artwork:
When everything is ready, export the document in the maximum quality to get the best results when working on eLearning. There are different exporting methods and types to which artwork can be exported. (For example, JPEG, PNG, SVG, etc.)
Tips and Tricks
- Never use copyrighted images, only use authorized images in your eLearning project.
- Choose the right images and illustrations for your eLearning project or course, image choices reflect your credibility as an eLearning developer.
- Use images that portray emotions to create a better sense of learning experience.
- Unless we’re restricted with the image size, use maximum quality.


